
READY TO SELL Stretch bands ONLINE?
Get a store built for you in 5 days, plus training and support to help you start, run, and grow your Alternative business.

Choose a clear buyer for resistance fitness bands, compare band types, check supplier samples, calculate the full order cost and build a product page that answers sizing and resistance questions.

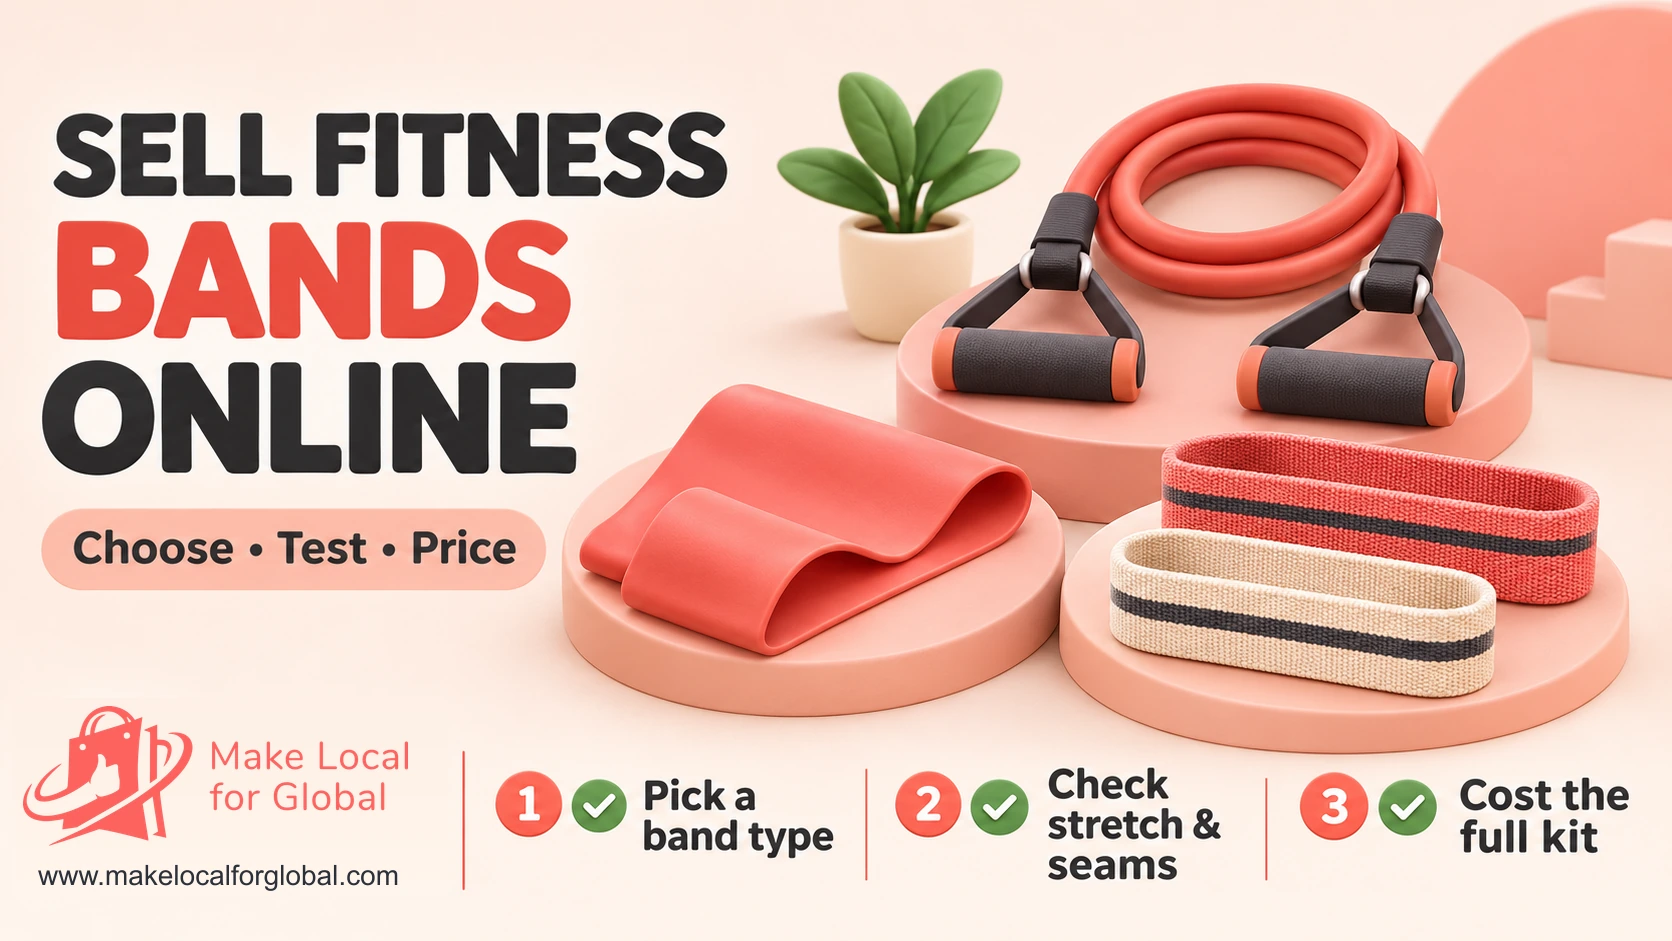
Fitness bands look like a simple product: a strip of elastic, a fabric loop or a tube with handles. A seller still needs to answer practical questions before ordering stock. Which type suits the buyer? How is resistance described? Will the band keep its shape after repeated use? Does it contain natural rubber latex? What is included in a set, and what does each order cost after postage, fees and returns?
This article is about resistance exercise bands, including flat bands, mini loops, long resistance loops and tube kits. It is not about wrist-worn activity trackers. If you are researching wearable devices, see the separate guide to selling fitness trackers online.
Treat the first stock order as a product test. Pick one buyer and use case, source a small set of clearly different options, test the actual samples, record the evidence and calculate the full order cost. Expand only when buyer feedback, product quality and contribution support the next step.
Explain band types, measurements and pack contents on a shop page that helps buyers choose the right option.
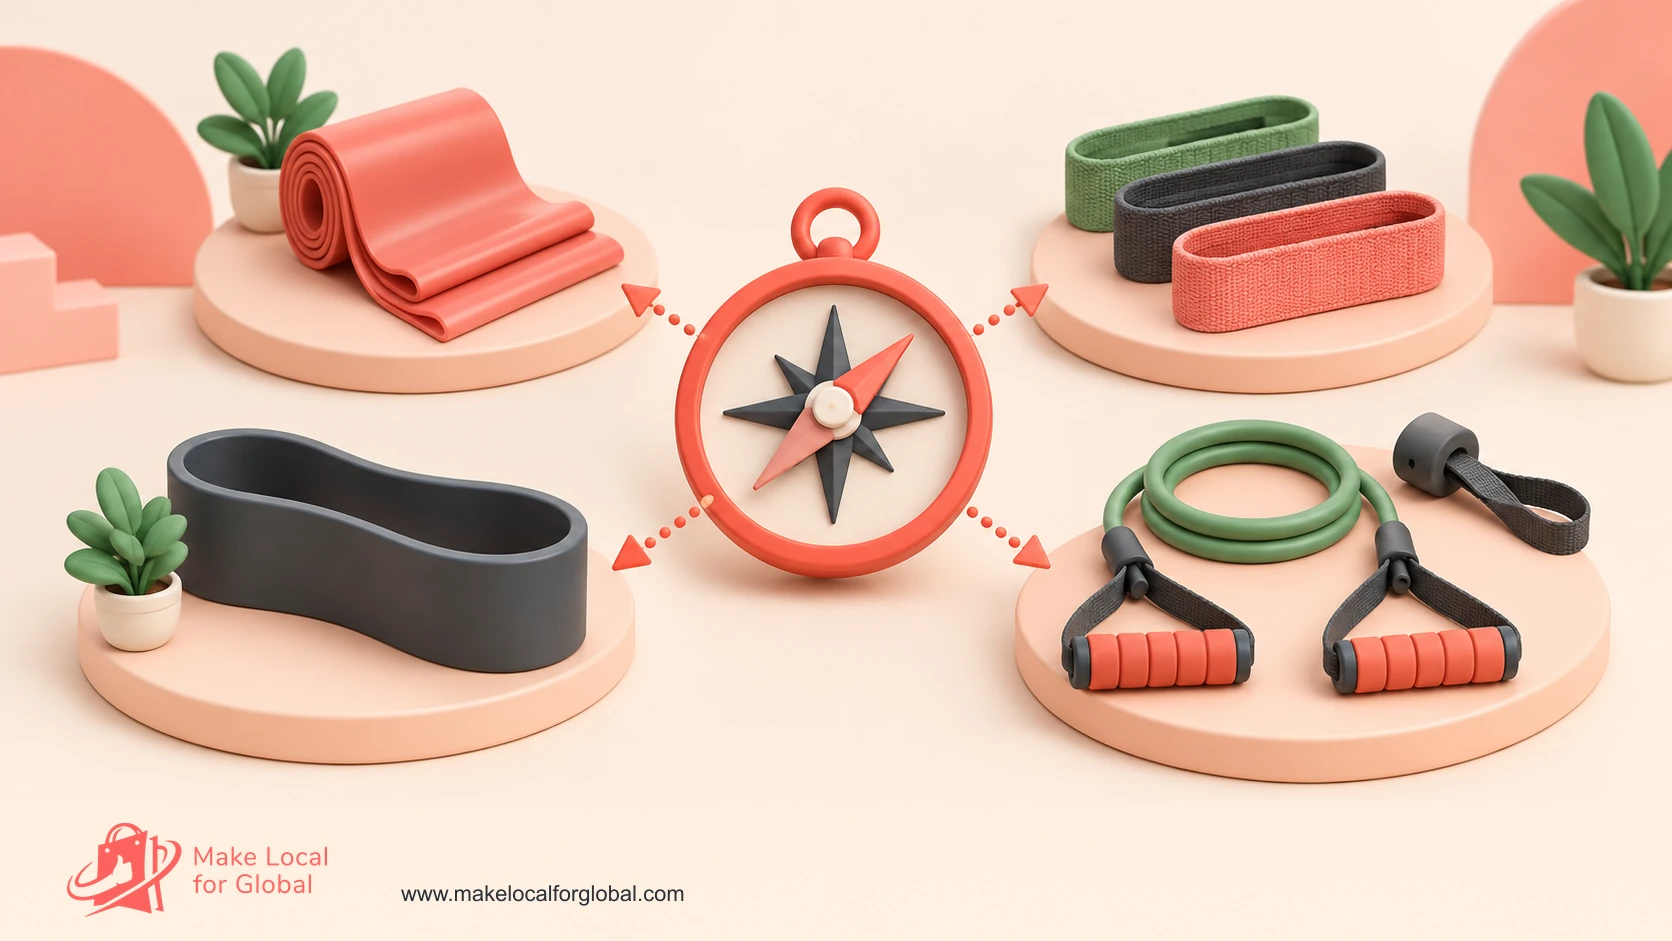
“Fitness bands” can mean several things to different shoppers. A beginner exercising at home may want a compact fabric loop and a simple size guide. Someone working on upper-body strength may look for a longer flat band. A person who trains with a pull-up bar may compare long resistance loops by width and stated resistance. A small studio might need a set that can be wiped, sorted and replaced by resistance level.
These buyers do not need the same first product. Start by describing one person, one setting and one task. For example: “A beginner with little storage space wants a low-cost set of mini loops for short home sessions and needs to know how each colour differs.” That is a testable idea. “Everyone who wants to get fit” is too broad to guide a supplier order or a product page.
Possible first audiences include:
Use these as hypotheses, not proof of demand. Ask potential buyers about the last band they purchased or used. What type was it? Where did it roll, pinch, slip or feel too short? How did they decide what resistance to choose? Which accessory did they need to buy separately? What made them return or stop using the item?
Questions about a recent purchase usually produce clearer answers than “Would you buy this?” Someone may say yes to a hypothetical product and never order. A buyer who remembers that a band rolled during a movement, arrived with no material information or had confusing resistance labels can point to a real product-page or quality issue.
Observe where people store and use the bands. A product designed for a spare-room strength session may need a different layout from a small set intended for travel. Ask what the person wants the band to do, how much space is available, whether they prefer fabric or elastic against the skin and what they expect to find in the box.
Do not describe exercise bands as a treatment for an injury or condition only when the product has a properly assessed medical purpose and the claims meet applicable rules. For clinical or therapy positioning, review the MHRA guidance on borderline products before deciding how to market the item.
The range can be grouped by shape, material and intended exercise. A supplier may use different names for similar products, so compare dimensions and construction rather than relying on a category label.
| Type | What the buyer receives | Questions to settle before listing |
|---|---|---|
| Flat resistance band | A long, flat strip sold by length, width, material or resistance level | Is it a single strip or a continuous loop? What are its measured width and length? |
| Mini loop | A short closed loop, often sold individually or in a set | What is the unstretched circumference? Does the fabric have an inner grip layer? |
| Long resistance loop | A wide continuous loop with a longer circumference | What is the band width and thickness? How is the resistance level measured? |
| Tube kit | Elastic tubes with handles, clips and sometimes a door anchor | Which parts are included? How do the connectors attach? What load and use instructions apply? |
| Figure-eight or shaped band | A formed elastic item with one or more grips | Are the handles and joins secure? Which movements are supported by the manufacturer? |
| Fabric loop set | Textile-covered loops that may be sold by resistance level | What fibres, stitching and grip materials are used? Can the care label be followed? |
Illustrative details. Verify each specification and cost against the exact product, supplier and sales channel.
The lowest-priced product is not automatically the best opening offer. A flat band can be cut to different lengths, but buyers need accurate dimensions and care information. Mini loops can be easy to store, though a set with only colour-coded labels may leave customers guessing. Tube kits can look like better value when they contain more parts, though handles and connectors add checks, packaging and customer questions.
One current example of product-specific language is a Decathlon three-pack listed with 5 kg, 6 kg and 7 kg values. Those values describe that seller’s named product and measurement approach. They are not universal resistance grades that can be compared across every brand. View the example listing.
For your own product, find out how the resistance figure was measured, at what extension and with which test method. If the supplier cannot explain the number, do not present it as a precise force measurement. You can state a supplier’s documented level label, such as light or medium, and describe the method and limits in your product information.
Materials change the product experience. Natural rubber latex may stretch differently from a synthetic elastomer or fabric-covered band. A textile loop may feel less adhesive against skin than bare rubber, though it still needs to be checked for slipping, rolling, chafing or stitching failure. Never describe a band as latex-free, non-allergenic, skin-safe or suitable for a particular medical need only when reliable evidence supports the material and claim.
Show the customer what the material is, how it should be cleaned and stored, and whether the product contains natural rubber latex. Follow the manufacturer’s care instructions. A claim such as “eco-friendly”, “non-toxic” or “hypoallergenic” needs evidence that matches the whole finished product and its packaging, not just one material in the specification.
Check how customers describe the product in search, marketplace listings, reviews and questions. They may use “resistance band”, “workout band”, “exercise band”, “fabric loop” or “pull-up band”. Record the phrase with the exact product type. A query for long pull-up loops can signal a different use from a query for small fabric loops.
Review several competing product pages and write down the details buyers compare. Look for:
Do not use review counts or marketplace search positions as proof of your likely sales. Reviews can reveal repeated product questions, but they do not show how much stock a seller holds, the return rate or the profit from each order.
Run a small test before a large order. You can ask a few local instructors which band shapes their clients request, prepare a simple interest page for one defined kit, or photograph two materials and ask past customers to choose which one they would inspect. If you take pre-orders, state the dispatch timing and what will happen if the product does not arrive as planned. Do not make a product appear in stock when it is not.
Set a budget and a time period for each test. Track qualified product-page visits, questions about resistance, requests for a particular length, add-to-basket actions and completed orders. Record customer language verbatim. If people repeatedly ask what “medium” means, the next step is to improve the resistance explanation, not add another colour to the range.
A low-cost product can attract price comparisons. Your offer needs a reason to choose it beyond a bright colour or a low ticket price. That reason might be a consistent size guide, transparent material detail, a well-tested handle connection, an easy storage solution or a replacement route for a missing part. Test the value of that service before you order extras that customers did not request.
Use the Product To Sell category to compare other product-specific launch decisions. The fitness equipment selling article covers wider equipment choices, and this page stays focused on the band itself.
Start with a small number of products that solve distinct problems. A useful first structure could be:
The point is not to stock a fixed number. It is to make every option understandable and testable. If the entry and core products have the same material, dimensions and use, they may be duplicate stock with different packaging. If the tube kit requires a different assembly check and support process, treat it as a separate product line when it shares a supplier.
Use a range matrix before requesting quotes:
| Range field | Record for each exact model |
|---|---|
| Form | Flat strip, mini loop, long loop, tube kit or shaped band |
| Material | Supplier-stated material, coating, textile composition and latex status |
| Dimensions | Unstretched length or circumference, width and thickness |
| Resistance description | Supplier level, documented force or method and extension point |
| Included parts | Band count, handles, clips, anchor, pouch, guide or spare parts |
| Care instructions | Cleaning, drying, storage, temperature and light restrictions |
| Identification | Brand, model, version, batch or lot code |
| Intended use | Exact claims supported by instructions and testing |
| Pack details | Retail pack size, weight and dimensions before outer shipping packaging |
Illustrative details. Verify each specification and cost against the exact product, supplier and sales channel.
Keep each variant’s photo and option selector aligned. If a buyer chooses a medium band, the product page should update the image, text and stock code together. Avoid asking customers to infer resistance from a colour only when the colour system is consistent and the actual level is named as text.
For starter sets, decide whether the customer is choosing a level, a material or a combination. A three-colour set can be useful if the colour order remains the same from batch to batch and the product page explains the level. The same colours cannot stand for different resistance grades on separate products without a clear reason.
Do not create a dozen stock-keeping units to look established. Every extra length, fabric pattern, colour and accessory ties up cash and adds a separate listing, photo, stock record and product check. Start with the combinations that answer a specific buyer question. Add another variant only when the first set of orders or customer requests gives a reason to test it.
Before the range is final, write a short product brief for a supplier. Include the material, dimensions, resistance method, construction, package contents, label details, care instructions, individual packaging and acceptable sample checks. Attach photos or drawings when they clarify shape, but do not ask the factory to copy a protected brand’s appearance.
You can source from a UK distributor, import a finished product, ask a manufacturer for a private-label version or make a textile loop product locally. Each option changes the paperwork, quality control, unit cost and supply risk. A lower price at the factory gate can be offset by freight, duty, inspection, compliant labels, samples and the cost of managing defects.
Ask each supplier for:
Request documents that identify the product you intend to sell. A certificate or material sheet for a similar band does not prove that your exact model uses the same construction. Ask the supplier to explain which production batch a sample came from, whether the parts are identical to the final order and what happens when the raw material, stitch pattern or connector changes.
If you import or sell an item under your own brand, your role may bring responsibilities beyond those of a retailer buying a finished branded product from a UK wholesaler. Record the company that made it, the company that supplied it, the product model, batch and documents you reviewed. Keep copies of supplier messages, purchase orders, invoices and approved samples with the product record.
Agree a sample sign-off before mass production. State the allowed dimensions, material, colour tolerance, seam appearance, handle or clip assembly, retail pack contents and any resistance test values the supplier has agreed to meet. Ask for the supplier to notify you about material or factory changes before production. Recheck the new version instead of assuming that an old sample still represents the item.
Request a sample from ordinary production. Compare more than one unit or production lot when available. A single sample can reveal a defect, and a flawless sample cannot prove that all stock will match.
Do not let a supplier put your logo on a product before you approve the artwork and product identity. Check the spelling, contact details, material statements and instructions. Make sure the private-label arrangement does not make an unsupported performance or safety claim on your behalf.
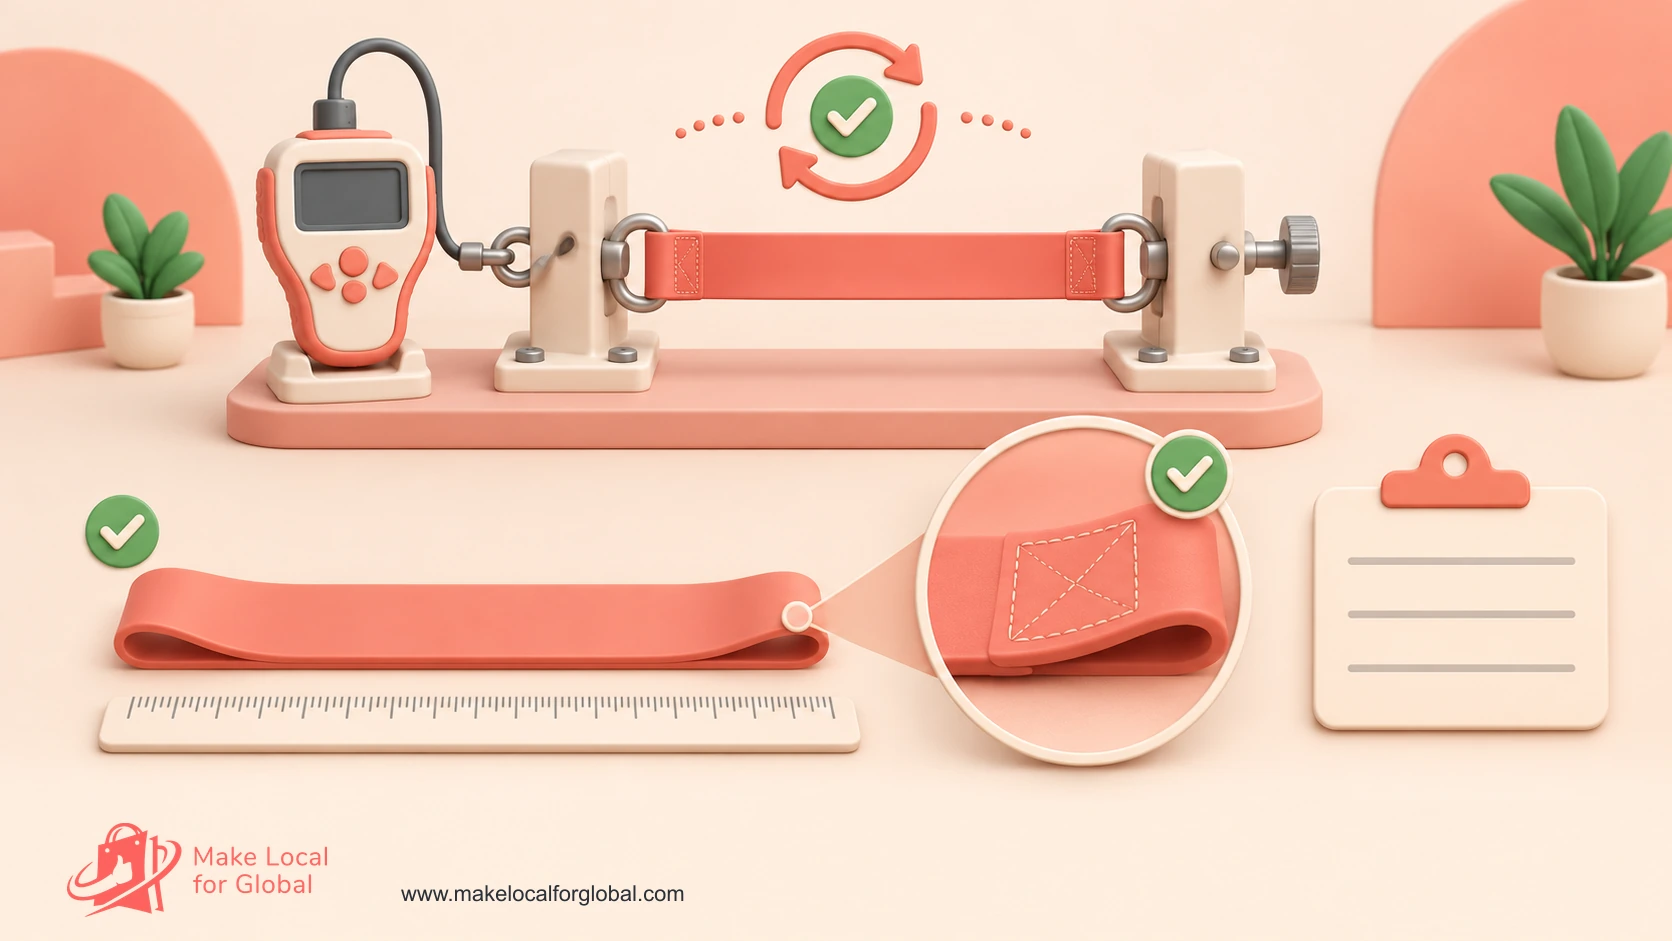
Create a sample record for every model and version. Photograph the item, package, label, connectors and any printed level. Record the sample date, supplier, model code and lot. Note the measurements, visual checks, supplied documents and questions that remain open.
Measure the band in its relaxed state with a consistent tool and method. For a flat band, record the usable length, width and thickness. For a closed loop, record the circumference and width without stretching it. For tube kits, record the tube length and the dimensions of handles and connectors. State whether measurements are approximate and how much variation you accept.
Inspect the band edge, joins, stitching, handles, clips, anchor and bag. Look for cuts, thin spots, embedded debris, inconsistent coating, loose threads, rough plastic, sharp edges, misaligned seams or connectors that do not seat fully. Photograph concerns next to a scale or lot card so another person can review the same point.
Stretching a sample by hand may help you notice obvious variation. It does not produce a precise force rating or certify that the product will remain safe. For a numerical resistance statement, ask the supplier how it was measured. Record the load, extension length, fixture, conditioning and sample identity. Have a competent person or test provider assess the method if you cannot confirm that it is suitable.
Do not mix “light”, “medium” and “heavy” from different manufacturers as if those words use one shared scale. A buyer comparing multiple listings needs the actual product details and the measurement method behind any number. If the supplier provides only a relative level, describe it as that supplier’s level, not as a guaranteed kilogram force.
For a basic commercial acceptance check, use a defined fixture or supplier-approved method, keep people clear of the band’s path and stop if the band, seam or attachment shows damage. Record the extension point and whether the result fell within the agreed tolerance. Never ask staff to stand in the recoil path or use an improvised door anchor in a way that could cause a sudden release.
If the manufacturer provides a use or conditioning method, follow it. Record the number of cycles and inspection points that the supplier says are suitable for the product. Look for splitting, permanent deformation, delamination, seam movement, surface cracking, tackiness, unusual smell and connector wear. A seller’s small sample check is a screen for defects, not a substitute for formal safety assessment.
Try the intended setup under controlled conditions and follow the manufacturer’s instructions. Check whether fabric loops stay in position for the stated use, whether a flat band rolls at the edges and whether tube handles remain connected during the approved test. Do not add unsupported movements or publish an exercise plan that the supplier has not approved.
Test package presentation too. Confirm that the right number of bands and parts are present, each colour matches the written description and the care information is included. If the set needs a user instruction sheet, check that the drawings, warnings and wording match the actual product. A good product that arrives with the wrong accessory still produces a customer-service problem.
Record a pass, fail or “not checked” for every criterion. If a sample fails, keep it separate and send the supplier clear photos, model details and batch information. Ask whether the problem affects other units and what corrective action will prevent it from recurring. Do not approve a bulk order when a safety, material or assembly question remains unresolved.
Product rules depend on where you sell, what the item claims to do, how it is made and your role in the supply chain. A simple consumer exercise band is not automatically subject to the same sector rules as electrical, toy or medical products. Check the product against the current rules for its exact design and intended purpose rather than assuming that a supplier’s mark or a marketplace listing resolves the question.
For products supplied in England, Scotland and Wales, the Office for Product Safety and Standards guidance on the General Product Safety Regulations 2005 explains that consumer products must be safe in normal or reasonably foreseeable use. It sets out duties for producers, including some importers, and distributors. In practice, keep the product identifiable, retain supplier traceability and provide the information a buyer needs to use and store it safely.
Northern Ireland has a different general product-safety regime. Since 13 December 2024, the EU General Product Safety Regulation applies there. The OPSS factsheet for Northern Ireland explains the scope, responsible economic operator, traceability and labelling points. Check the NI requirements if you ship there rather than copying your GB process without review.
The Consumer Rights Act 2015 says consumer goods must be of satisfactory quality. The Act’s sections on fitness for a particular purpose and goods matching their description matter when your listing makes specific claims or a buyer explains what they need before ordering. Give a clear description and do not use wording that overstates the product’s material, performance, durability or suitability.
Avoid claims such as “injury-proof”, “treats shoulder pain”, “safe for rehabilitation”, “unbreakable” or “suitable for every body”. A medical purpose can affect how a product is classified. If you want to market the band to diagnose, prevent, monitor, treat or alleviate a medical condition, check the MHRA’s guidance on borderline products and seek product-specific advice before making the claim.
For online orders, explain who the seller is, the total price, delivery charge and timing, payment method, cancellation terms and how the customer can contact you. The government’s online and distance selling guidance sets out pre-contract information for online sellers. Read the current returns and refund guidance before writing your returns policy. A faulty product is not handled in the same way as a customer changing their mind.
Packaging can bring a separate assessment. The GOV.UK EPR packaging guidance explains which activities can make a business a packaging producer and how thresholds affect reporting duties. Importing a band in a retail pack, adding your own mailer or selling packaging under your brand can change the calculation. Check your current turnover and packaging data rather than guessing from the size of the product.
A small, light product can have a low selling price and still leave little contribution after fulfilment. List each variable cost before setting a price:
The figures below are illustrative, not supplier quotes or a forecast. Assume a three-band set sells for £19.99 with delivery included. The seller is not VAT registered for this simplified example, so the figures are shown before any tax due on business profit. If you are VAT registered, replace the revenue and cost treatment with your accountant’s VAT-aware model.
| Cost line | Illustrative cost per order |
|---|---|
| Three bands, pouch and retail insert | £3.80 |
| Inbound freight and duty allocation | £0.60 |
| Protective outer pack | £0.55 |
| Pick and pack | £2.25 |
| Outbound delivery | £2.85 |
| Payment and marketplace fee estimate | £0.75 |
| Customer acquisition allocation | £3.00 |
| Return and defect allowance | £0.85 |
| Total variable cost | £14.65 |
| Sale price with delivery included | £19.99 |
| Example contribution before fixed overhead and tax | £5.34 |
Illustrative details. Verify each specification and cost against the exact product, supplier and sales channel.
The arithmetic is £19.99 minus £14.65, leaving £5.34 before fixed costs, tax and any VAT treatment. The contribution is not net profit. It does not pay for website software, photography, insurance, bookkeeping, storage rent, owner time or a future product test.
If the customer pays £2.95 for delivery separately, the contribution changes only after you calculate the payment fee on the correct order value and compare the delivery charge with the carrier invoice. If a two-pack adds a second set for £6 but increases packaging and postage by £1.20, the extra sale may improve contribution. Run the numbers rather than assuming that a bundle is always more profitable.
Build a low, expected and high scenario for returns or paid advertising. The product may cost £3.80 to buy, but one band with a faulty seam can require a replacement set, a second postage charge and time to investigate the lot. Keep a separate return allowance until your own order history gives you a better estimate.
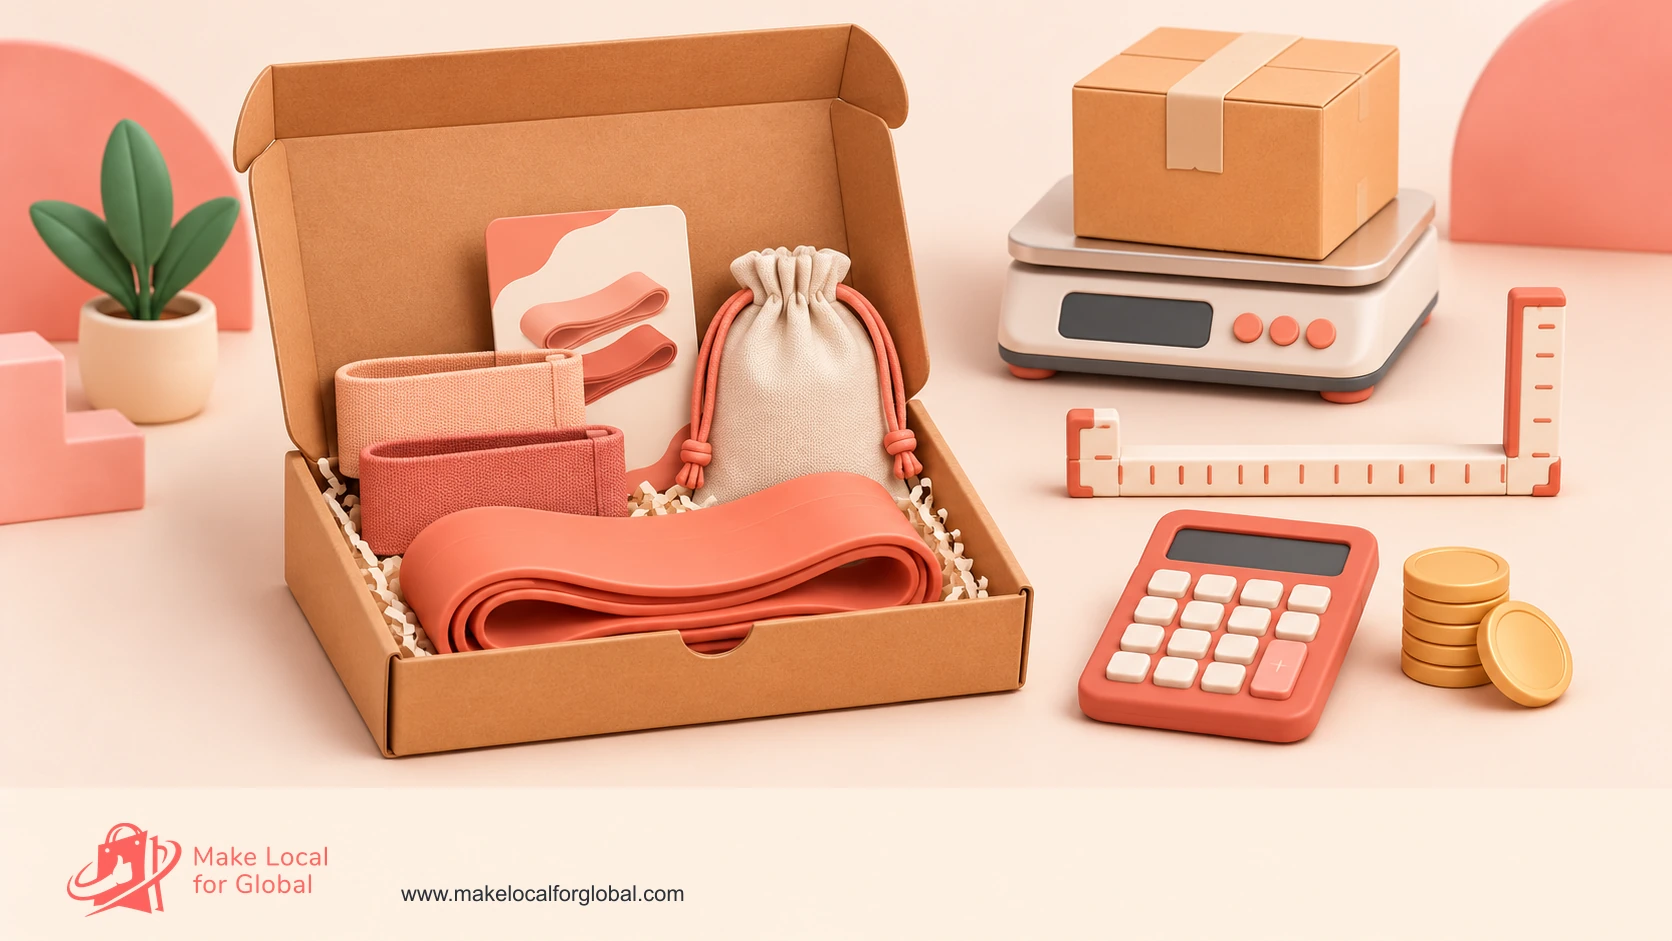
Record the actual dimensions after packing. Couriers can price by parcel size or weight. A rigid presentation box may look premium and make the parcel too large for your chosen service. Test a slim pack and a gift-ready pack if customers value them; price each option on the fully packed parcel.
Use the price model as a decision tool. If the target price cannot cover all variable costs and leave enough contribution for the business, change the offer, source, pack format or channel before scaling. A product with attractive sales figures can still lose money when the cost of returns, acquisition or marketplace fees is missing.
Use MLFG’s Pricing Lab to model order costs and compare a retail price with the contribution left after variable expenses.
The product page should answer the questions that matter before checkout. Start with a title that names the exact product type and distinction. For example: “Fabric Mini Resistance Bands, Three Levels, Storage Pouch Included” is clearer than “Premium Fitness Bands Set”.
Use the first lines to state what is in the box and who the option is designed for. Then give a compact specification:
If you sell three resistance levels, name them in text and connect each label with the correct image and stock code. State what the supplier’s light, medium or heavy label means. If you have a documented force value, explain the test method and extension point. If no measurement is available, say that levels are relative to the supplier’s product range and avoid implying universal kilograms.
Do not present an image of a tube kit as though it includes a door anchor if it is sold separately. Photograph all included parts together and list excluded items clearly. If the pouch is only a storage bag and not protective equipment, describe it as a pouch.
Use customer questions to improve the page. If buyers ask whether a band contains latex, make the material line visible. If they ask which level to choose, offer a neutral comparison based on supplier guidance and intended use, not a diagnosis or personalised medical recommendation. If they ask about a setup, point to the manufacturer’s instruction rather than improvising a new use.
An example description might read:
Replace every sentence with facts verified for your actual product. Do not use this sample as a claim about a band you have not tested.
The first image should show the actual band type and the complete set. A buyer should be able to distinguish a fabric loop from a flat rubber strip before clicking through to the gallery. Use consistent scale, a clean background and the real product colours.
Add useful close-ups:
Do not stretch the band to an exaggerated length in a product photo. Do not use a person’s body as the only measurement reference. If you show an exercise position, use approved instructions and demonstrate the band in a way that does not suggest a medical result or a guaranteed outcome.
Photograph light, medium and heavy products under the same conditions. Keep colour accurate and do not make the strongest band look larger by changing perspective. If your camera shifts colour, state the variance and use a neutral setting. If fabric colours change between production batches, confirm whether that variation is acceptable before promising an exact shade.
Use diagrams to explain how the customer selects the right product, not to replace the manufacturer’s safety instructions. Label dimensions in centimetres. Show the pack count. Keep important caveats next to the claim they qualify instead of hiding them in a long FAQ.
An owned shop gives you control of the product page, email capture and customer support. A marketplace can bring existing search demand, but it may add fees, seller metrics, title rules and requests for documentation. Choose one primary channel you can maintain, then add another only when stock, pricing and customer messages can stay consistent.
Build page copy around the type of band and the customer’s question. Search phrases may include “fabric resistance bands”, “mini loop exercise bands”, “long pull-up bands”, “flat resistance band length” or “tube resistance band kit”. Confirm the exact query language with your own search data and customer messages. Do not add unrelated phrases such as “fitness tracker band” to a resistance-band page; those terms describe wrist-worn devices.
Make the category navigation reflect product shape and use. A shopper should be able to find mini loops, long flat bands and tube kits without guessing. If you make a comparison page, use specifications that are genuinely comparable. Do not compare your band’s “heavy” label with another brand’s kilogram value only when you understand each measurement method.
Useful supporting content can answer buying questions:
Keep exercise advice within your competence and the manufacturer’s instructions. A seller page can explain product construction, contents and selection. Do not turn a product listing into a diagnosis or promise that a band will fix pain, prevent injury or deliver a body-shape result.
Test a launch message against a defined group. One creative may show a portable set in a small storage pouch; another may show the exact three products side by side with their dimensions. Keep the price, delivery terms and audience steady long enough to learn from the comparison. Track clicks, questions, add-to-basket actions, sales, returns and contribution, not likes alone.
If you want help setting up a shop around a clear product range, see MLFG website design. Plan the product page, size table and customer questions before uploading a catalogue full of untested options.
Store bands away from direct sunlight, extreme heat and sharp objects when the manufacturer’s instructions require it. Keep material, model and batch information linked to each stock location. If the supplier issues a change notice, identify which units belong to the affected lot.
Fold or roll the band as directed. Avoid sharp creases, tight ties or an elastic band around the product if that could damage or deform it. Protect handles, clips and connector parts from being crushed. Include the exact instruction sheet and any small pieces inside a closed pouch or compartment so they do not disappear in transit.
Measure the retail pack and the finished parcel after adding the mailer. If you sell a set with several bands, check that the chosen packaging will not cut into the material or rub the printed label. A neat inner pack helps the customer see the full set and gives you a repeatable packing process.
Before dispatch, confirm the correct SKU, number of bands, level label, pouch and accessories. Add the batch code to your order record where practical. If you cannot track individual serials, keep the supplier lot and your receipt date so you can identify which stock may be affected by a complaint.
If a customer reports a band split, a handle detached or a label that conflicts with the product page, ask for the order number, model and photos. Tell them to stop using a damaged item and keep the product for inspection. Check related stock, contact the supplier and decide whether a wider hold or report is needed. Do not respond to a possible safety issue with only a discount code or a replacement pack.
Write return and fault processes before launch. State how a buyer contacts you, what information helps identify the product and how you handle a faulty item. Keep records of reasons for return: material mismatch, resistance confusion, missing accessory, size, delivery damage or product failure. Each reason points to a different fix.
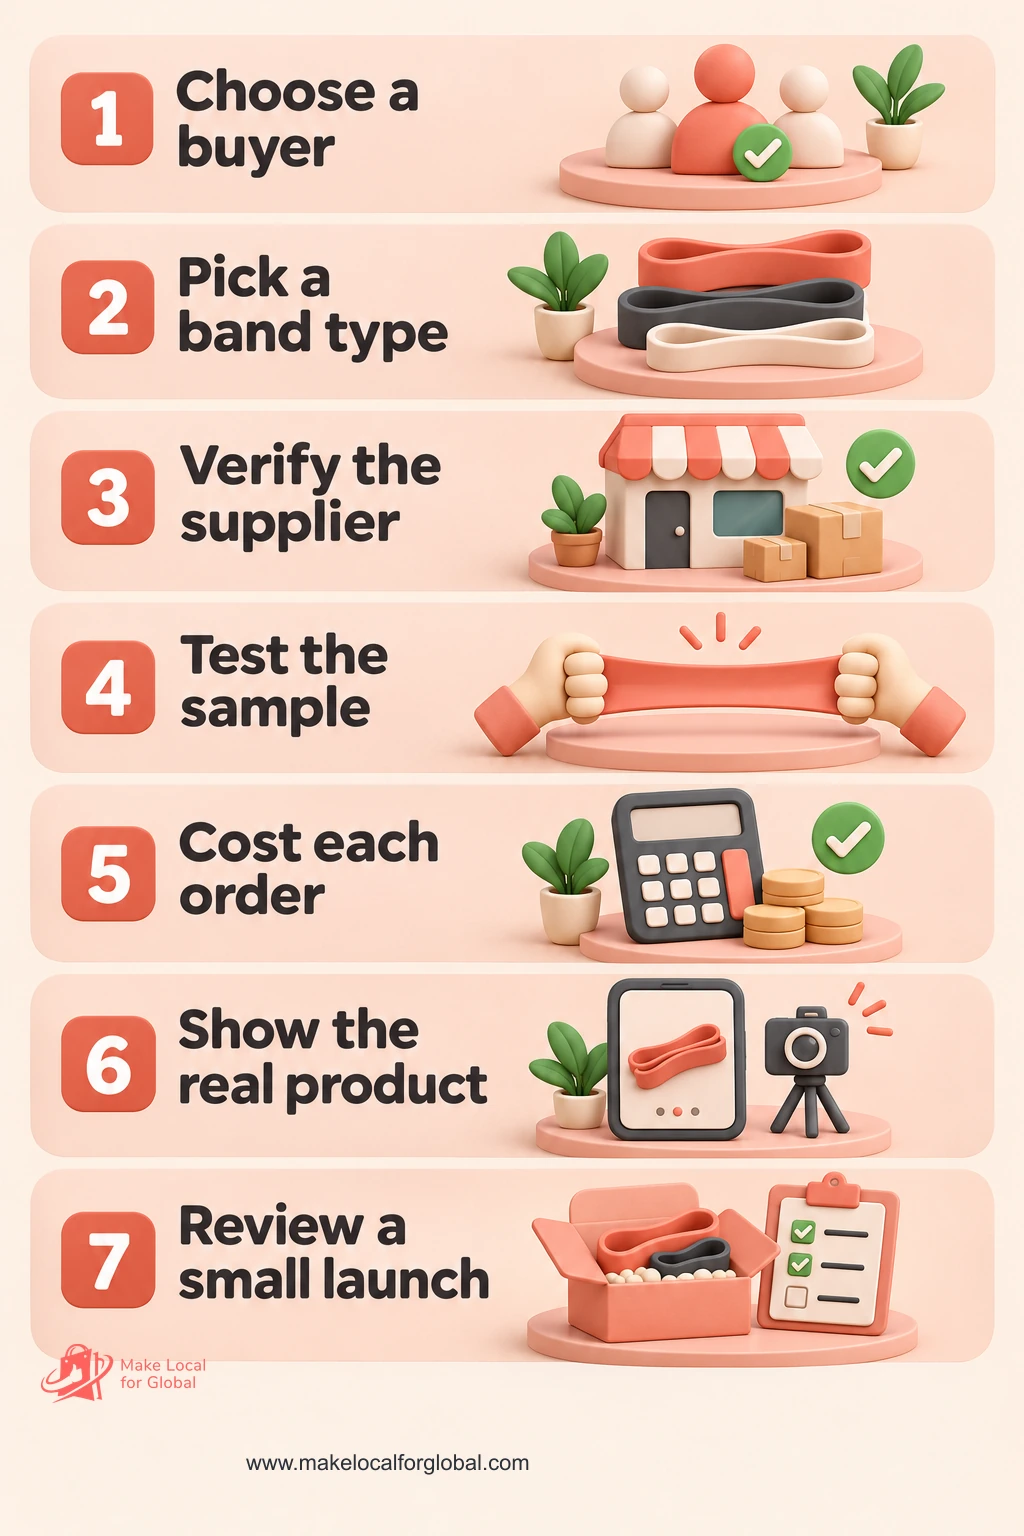
Choose one audience and use case. Speak with several people who recently bought or used resistance bands. Record which type they chose, what they compared, what confused them and what came in the box. Draft a short specification for one entry product and one core set.
Check current product pages from established retailers and brands. Note the language used for shape, size, material and resistance. Save links and the date you reviewed them for your own research record. Do not copy another brand’s images, packaging or product description.
Request model, material, size, resistance and traceability documents from several suppliers. Ask which production unit the sample represents and how changes are communicated. Order samples from the best candidates. Write a pass/fail checklist for dimensions, construction, labels, attachments, package contents and performance method.
Stop if the model identity, material or required use information is unclear. Ask an appropriate product-safety or test professional to review the product when the risk, claim or construction needs expertise beyond your own inspection.
Get live supplier and carrier quotes. Measure packed parcel size. Include marketplace and payment fees, support time, return allowance and acquisition cost in the per-order model. Decide whether the starter product and core set have meaningfully different roles.
Write a product title, specification table and five customer questions. Photograph the exact sample. Show all included components and put the material, dimensions and resistance method where the buyer can see them.
Launch one product page or one marketplace listing to a defined audience with a fixed budget and test period. Monitor visits, questions, add-to-basket actions, completed orders, complaints, return reasons and contribution after variable costs.
At the end of the test, decide whether the product, supplier and pack worked. If customers ask the same question, improve the listing before buying more. Reorder only when the actual product evidence, stock quality and economics support it.
Flat strips, fabric loops, long resistance bands and tube kits have different measurements, connection points, materials and product-page needs. Give each one the right attributes rather than forcing every item into a generic “three resistance levels” template.
Colour can help customers distinguish levels only when the system is consistent and the level is written next to it. Name the actual option in the selector, the photo and the pack.
A sample can reveal a defect; one sample cannot show that every production unit will match. Agree quality tolerances, keep lot records and review the process used for repeat batches.
Words about rehabilitation, injury prevention, pain relief, calorie burn or a guaranteed strength outcome can create legal and trust problems. Keep your claims tied to the product evidence and the use instructions.
A resistance number can depend on method and extension. Never copy a competitor’s rating onto your own product. Ask the supplier how the value was produced and state only a measurement you can support.
Customers may need to know what touches their skin. State the supplier-confirmed material and latex status. Do not infer an allergy statement from a product photo or a generic material name.
Tube kits, anchors and handles create new failure points and extra support questions. Check how each component attaches, what is included and which setup conditions are covered by the instructions.
Freight, packaging, postage, fees, advertising, returns and replacements all affect contribution. Measure the finished parcel and update your model with actual invoices.
Every colour and level adds stock and listing work. Start with combinations that reflect a buyer’s clear choice. Expand only when customers ask for a specific option or sales data supports it.
Here, “fitness bands” means resistance exercise bands. The phrase may mean wearable wrist devices, which are fitness trackers with a separate product design and compliance profile.
Choose the type that matches one buyer and one use case. A small fabric loop set, a flat band or a long resistance loop can each be a starting point, provided you have clear material, size and level details for the exact model.
Use the supplier’s documented levels and explain their scope. If you publish a force or kilogram value, confirm the test method and extension point. Do not treat “light”, “medium” and “heavy” as universal grades across different brands.
You can sell a latex product when the applicable requirements are met and the material information is accurate. State the confirmed material clearly, do not make an unsupported allergy claim and follow the supplier’s warnings, storage and care instructions.
Do not assume that a mark is required or sufficient. A simple band may not fall under the same product-specific rules as regulated equipment, but product safety duties still apply. Check the exact design, intended use, market and supply-chain role against current UK guidance.
A medical or treatment claim can affect how a product is regulated. Check the intended purpose, instructions and promotional wording with the relevant guidance before you advertise a band for rehabilitation, injury treatment or pain relief.
Show the product type, dimensions, material, latex status, documented resistance label and pack contents. Use an accurate photo for each option and explain how models vary in plain language.
Include only parts that suit the intended product and whose quality you have checked. List the band count, pouch, handles, clips, anchor and instructions individually. Photograph the actual contents and keep the stock code linked to the right kit.
Include the product, freight, duty, testing, packaging, pick-and-pack, postage, payment or marketplace fees, customer acquisition, returns, replacements, support and applicable compliance costs. Keep contribution separate from net profit.
There is no required number. Choose the smallest range that lets a buyer make a meaningful selection and lets you test the product without tying up excessive cash. Add options when buyer requests or order data gives a reason.
Choose one buyer, one band type and one supplier sample. Record the material, dimensions, resistance method, included parts and test observations. Cost the packed order with current fees and carrier rates. Then publish a product page that lets the customer understand what is in the set and what each option means.
Run a small launch test and review actual questions, returns, defects and contribution. Use those findings to decide whether to improve the page, change the supplier, adjust the pack or expand the range. For more product ideas, browse the Product To Sell category.
Use a clear buyer, a checked sample and the first order figures to decide what to improve next.
PREFERRED SOURCE
Like what you’re reading? Add Make Local for Global as a preferred source on Google to see more of our articles when you search.

Build your online presence without having to figure out everything yourself.