

READY TO SELL Candle-making kits ONLINE?
Get a store built for you in 5 days, plus training and support to help you start, run, and grow your Alternative business.

Learn how to sell candle-making kits online with a focused buyer, tested contents, clear safety information, full costing, stronger product pages and a practical launch plan.

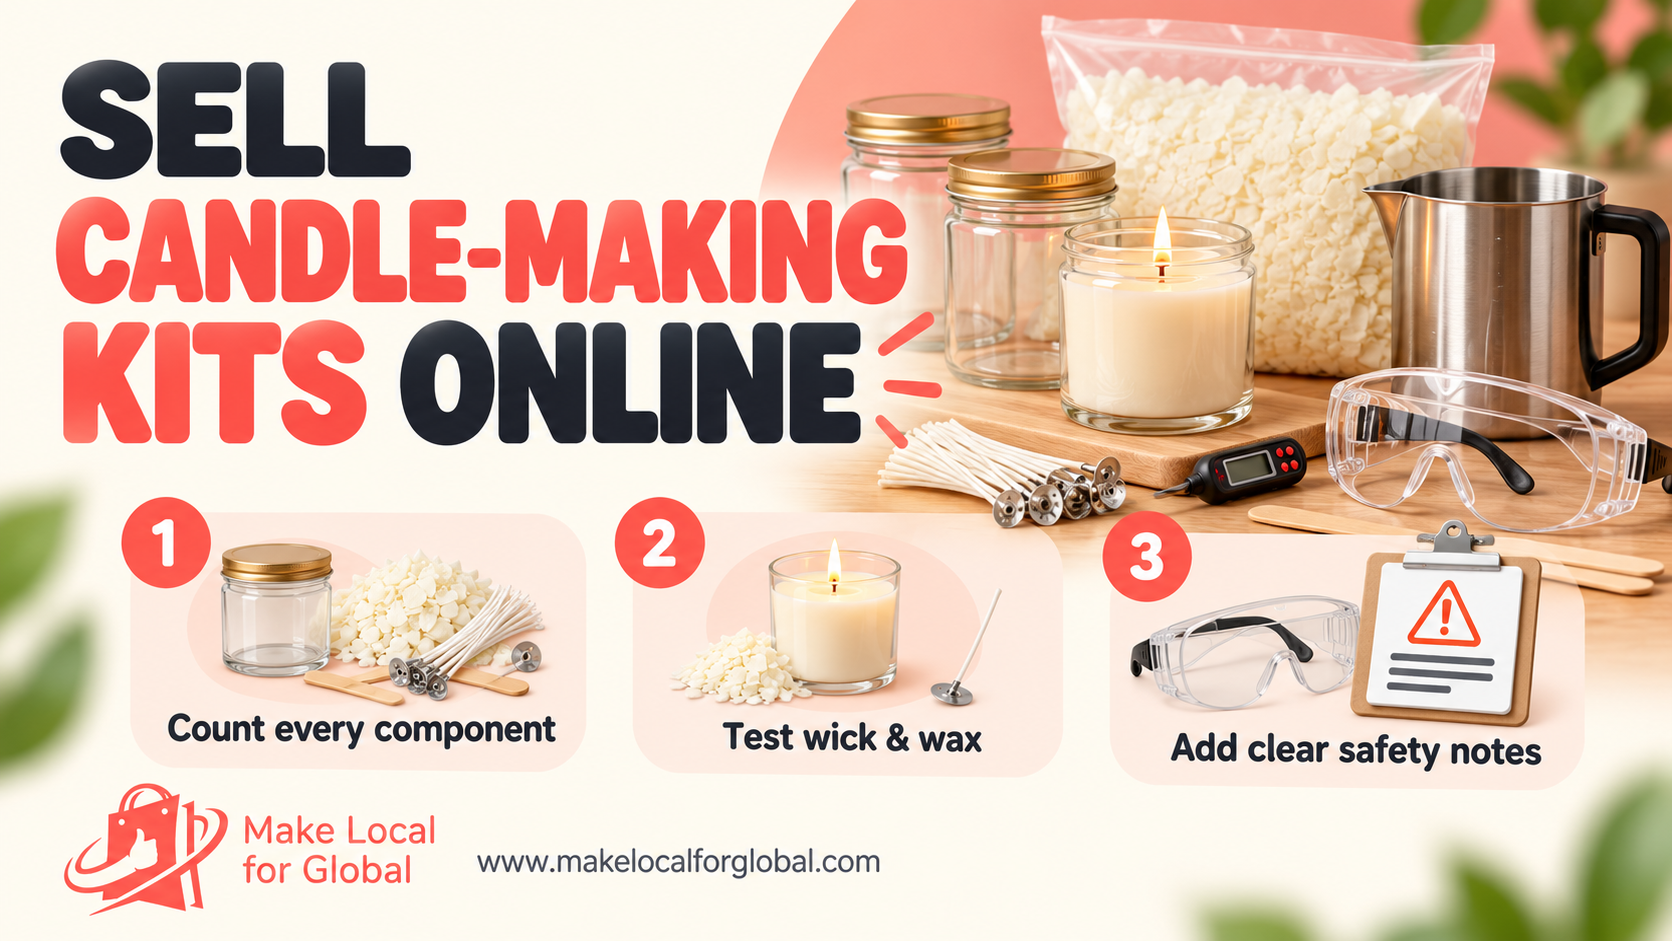
Candle-making kits give buyers a guided way to make a useful, giftable product at home. They can suit beginners, families, craft groups, and experienced makers who want a compact project. The opportunity is in making the experience easier to choose and safer to complete, not simply putting wax and a wick in a box. A clear kit tells the buyer who it is for, what it makes, what they must supply, how long it takes, and what precautions matter.
This guide explains how to choose a buyer, design and test a range, source components, calculate a realistic price, prepare useful instructions, build product pages, package orders, and plan a first month of selling. It is written for UK sellers. Requirements can differ between Great Britain, Northern Ireland and other markets, so check the rules for each destination and your exact product.
A focused range is easier to explain when the online shop makes contents, delivery and next steps clear.
A kit becomes easier to design when one customer is in focus. “People who like candles” is too broad to guide the instructions, product size, price or photographs. A first-time maker wants reassuring steps, fewer decisions and a predictable result. A gift buyer wants an attractive box, an understandable age range and a project that feels complete. A craft teacher may need repeatable materials, bulk ordering and a session plan. An experienced maker may value an unusual wax, vessel or technique and already own the basic tools.
Pick one primary buyer for the first product page. You can still serve other buyers, but your lead message should help one person say, “That is for me.” Interview a few likely customers before ordering a large batch. Ask what they have tried, what made them hesitate, how long they want the project to take, and what they would expect to be included. Look at questions in craft communities and reviews of competing kits, but use them to form questions rather than copying claims or phrasing.
Write a one-sentence product promise, such as: “A first candle project for an adult beginner who wants to pour two simple container candles in one evening.” This statement is a design filter. If a component, scent option or instruction does not help that buyer reach the promised outcome, hold it for a later version. A smaller, coherent range is easier to test and explain than a box filled with loosely related extras.
There are several ways to sell a candle-making kit, and each creates different cost, safety, delivery and support requirements. A simple container-candle kit may include measured wax, wicks, wick stickers, two heat-safe vessels, a thermometer, a pouring jug and instructions. A refill pack can assume the customer already owns durable tools. A decorative mould kit may add moulds and a different release process. A group kit can divide measured materials among several participants, while a gift kit may focus more on presentation and a message card.
Start with one core format that can be explained in a photograph and completed with a sensible number of steps. Decide whether the kit supplies fragrance or colourant. These can increase perceived choice, but they also add formulation, documentation, leakage, storage and labelling questions. A fragrance-free or one-scent starter kit may be simpler to test. Do not offer many combinations until you can document and quality-check each version consistently.
Name the output precisely. “Make two small container candles” is clearer than “Create beautiful candles”. State approximate volume or finished dimensions, while making clear results vary with technique and vessel choice. Avoid promising exact burn time or scent performance unless you tested the specific candle design and can support the claim. A kit is not automatically suitable for children because its packaging looks playful. Consider heat, tools, instructions, foreseeable use and supervision before positioning it for a family audience.
| Kit format | Best first buyer | What it needs | Main checks |
|---|---|---|---|
| Basic container pair | Adult beginner | Measured wax, wicks, vessels, tools, instructions | Vessel suitability, wick fit, pour steps, safe handling |
| Tool-free refill | Past customer | Consumables and clear refill directions | Compatibility with the earlier kit and vessel |
| Gift set | Gift buyer | Strong presentation, complete contents, gift message | Box protection, visible contents, delivery readiness |
| Workshop pack | Group leader | Separated portions, session plan, repeatable quantities | Supervision, batch consistency, transport and storage |
Choose the format that matches the buyer and experience you can test consistently.
The customer is buying an outcome and a feeling of confidence, not just ingredient weights. Map the experience from opening the box to cleaning up. Count the decisions the buyer must make. If they need to select a wick, calculate a fragrance percentage, centre a wick, choose a vessel and troubleshoot a pour, the kit may be asking too much of a beginner at once. Pre-measure ingredients where that improves usability, and make each remaining decision explicit in the guide.
A useful instruction sequence includes preparation, workspace setup, equipment check, melting, temperature monitoring, fragrance addition if included, pouring, cooling, wick trimming, finishing and safe use. State which steps require adult help or close supervision, if applicable. Explain what “ready” looks like at each checkpoint. A photograph of a centred wick can prevent confusion more effectively than another paragraph. Tell customers to follow the kit instructions and the supplier’s handling information for the exact material supplied; do not rely on a generic internet recipe for a different wax or fragrance.
Set honest expectations about time. Separate active work from cooling and curing time, and explain that a project may need to rest before use. Include troubleshooting for common issues such as a shifted wick, a rough top or a small surface depression, while distinguishing cosmetic imperfections from a safety concern. Give customers a simple contact route for questions. Clear instructions reduce support load and help reviews reflect the product that was actually delivered.
Create a bill of materials for one sellable unit.
Include every supplied item, packaging component, printed insert and protective piece. Record a supplier, SKU, unit cost, order quantity, lead time, material specification and replacement option. Add measured quantities of wax and additives rather than estimating from a scoop. Note whether costs include VAT, carriage, import charges and any minimum-order break. A component that costs little can still cause returns if it arrives damaged, leaks or is confusing to use.
The contents list on the product page should match the box exactly. Split it into “included” and “you will also need”. If a household item such as a hob, saucepan or kitchen scale is required, say so before checkout. Do not imply that an item is supplied if it appears only in a lifestyle photograph. If a photo includes props, identify them as styling props where a buyer could reasonably assume they are included.
Design for replacement and replenishment. The customer may need more wax, wicks or vessels after the first project. A compatible refill can support repeat orders, but document exactly which kit or vessel it fits. Avoid bundling excess materials simply to make the box look full. Every additional component affects price, packing, product safety review and customer comprehension. A compact, well-labelled kit is often more useful than a large assortment with no clear reason for each part.
Request written specifications for wax, wicks, vessels, fragrance, dyes and tools. For chemical mixtures such as fragrance oils or colourants, ask for current safety data and product-specific guidance. Ask suppliers how they identify batches, communicate formulation changes, handle complaints and notify customers if a product is withdrawn. Keep invoices, order confirmations, lot references, emails and the exact specification used in each production run. Do not assume a material remains identical because its product name has not changed.
Order samples from more than one supplier when the material materially affects performance. Compare consistency, odour, packaging, documentation, delivery reliability and responsiveness. A low unit price is less attractive if you have to discard a batch or cannot trace a questionable component. Record a preferred supplier and a qualified backup for critical materials. Before switching, test the new component in the actual kit rather than treating it as interchangeable by description alone.
If you import components or sell them under your own brand, understand the role you take in the supply chain. Depending on the facts, you may have producer or importer responsibilities beyond those of a retailer. Seek competent product-safety advice for your actual product, territories and operating model. Keep a dated record of what you checked and why you considered the kit safe to supply. The Office for Product Safety and Standards guidance for manufacturers and importers explains safety information and traceability duties in relevant cases.
A kit can combine hot wax, heat sources, glass or ceramic vessels, wicks, fragrance mixtures and tools. Review hazards for the whole experience, including foreseeable mistakes. Consider burns, spills, breakage, ingestion, skin or eye exposure, ventilation, storage and use by someone other than the purchaser. Make instructions specific enough to guide safe use, but do not use warnings to compensate for a poor design. A warning does not make an unsafe product acceptable.
For Great Britain, the General Product Safety Regulations 2005 require consumer products to be safe in normal or reasonably foreseeable use, with producer and distributor duties. Northern Ireland has a different general product-safety framework: the EU General Product Safety Regulation applied there from 13 December 2024. Confirm rules for your target territory before offering delivery. The GOV.UK overview for Great Britain and Northern Ireland product safety guidance are starting points, not a substitute for checking your exact kit.
Fragrance oils and colourants need particular care. In Great Britain, substances and mixtures placed on the market must be classified and labelled under GB CLP where applicable. A candle mixture may need specific classification or supplemental statements depending on its composition; requirements cannot be determined from a fragrance name or generic percentage alone. Obtain and review supplier safety data, assess the actual mixture and concentration, and get competent advice when needed. The HSE guidance on GB classification and labelling explains the general framework. The ECHA candle fact sheet is informative about candle mixtures but relates to the EU framework, so it is not a complete GB legal checklist. For Northern Ireland, check applicable EU CLP requirements separately.
Keep product safety records with the batch. Document components, measurements, packaging, warnings, instructions, sample checks, supplier evidence and the version of the product page. Put an appropriate brand and batch or product reference on the product or packaging where required. Give buyers clear contact details and a route to report a problem. Establish a process for logging complaints, investigating them, pausing sale if necessary, contacting affected buyers and cooperating with authorities. The GOV.UK product recalls and alerts guidance explains the public reporting and recall context.
Test the exact kit as a first-time customer would use it. Ask someone who has not seen the instructions to open the box and complete the project while you watch quietly. Note where they pause, improvise, skip a warning or misread a measure. Revise the guide and repeat the test. A seller who already knows what a wick-centering tool does may not notice that a new buyer cannot identify it.
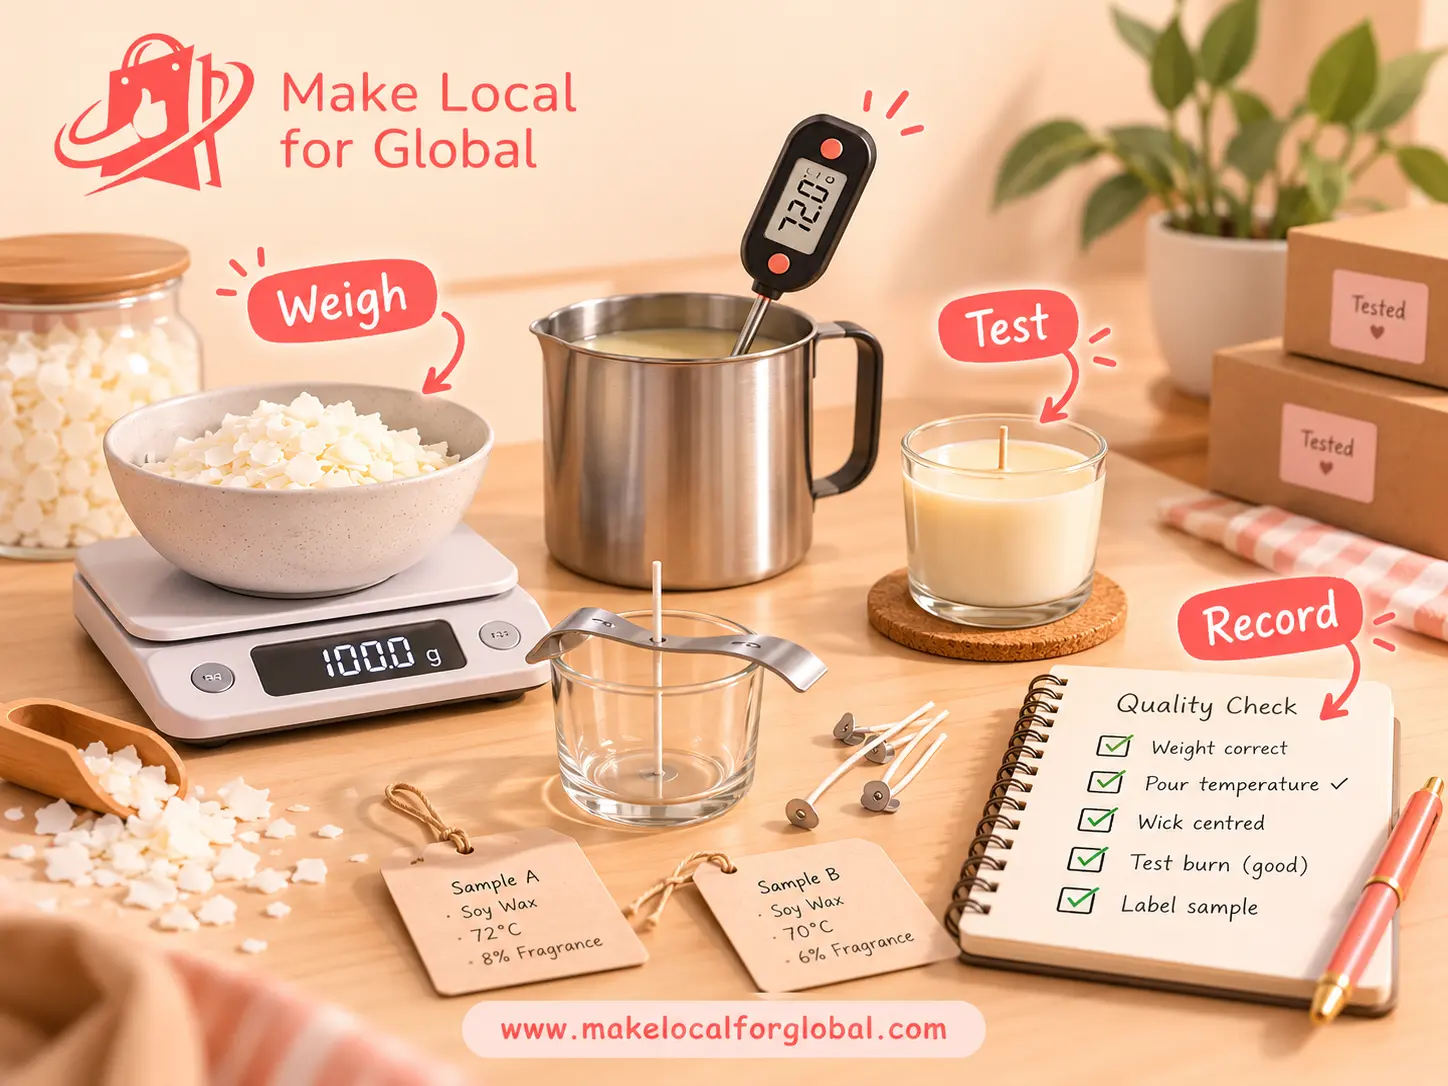
Test representative batches across more than one production day. Record material lot numbers, batch size, measured quantities, equipment, defects and changes. Inspect vessels, wicks, labels, closures and printed sheets. If the kit includes fragrance, follow the applicable safety and classification process for the actual mixture and concentration. Do not rely on a finished candle burn test to resolve every separate hazard in a hot-wax activity kit; review both the activity and any candle the customer produces.
Run packaging tests before opening sales. Pack a complete kit, weigh and measure the parcel, and test a few shipments through your intended carrier route. Inspect whether wax leaks, vessels chip, the thermometer bends or printed instructions crease. Review feedback and returned parcels before increasing volume. Keep a version log so you can tell whether a complaint concerns the current design or an earlier batch.
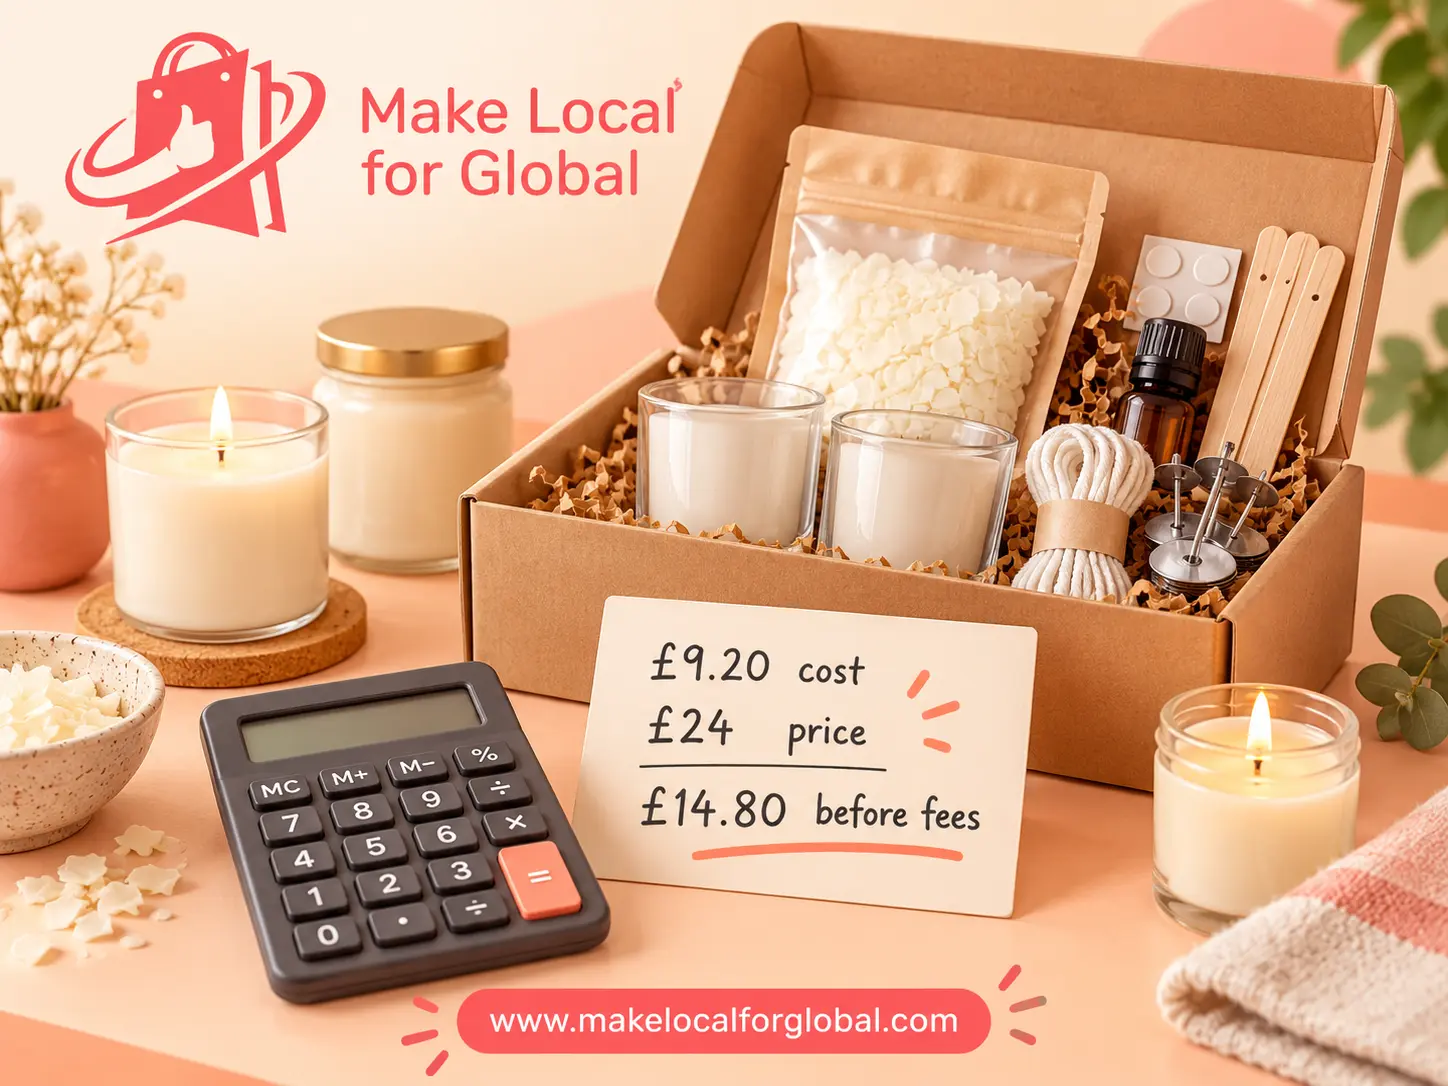
A selling price based only on wax and a jar understates the cost of a kit. Work out a per-order cost that includes materials, freight into your business, packaging, printed instructions, product testing, damaged stock, payment fees, marketplace charges, packing time, customer service time, returns, advertising and overhead. Some costs vary by order, while others are monthly or occur in batches. Estimate each separately so a price change can be tied to a real cost driver.
Here is a worked example. Suppose contents cost £8.10, retail and shipping packaging cost £1.10, printed instructions and labels cost £0.45, inbound freight allocated per kit is £0.55, and an allowance for wastage and quality checks is £0.60. Direct product cost is £10.80. If you sell at £27.00 and combined payment and platform charges average 4% plus 30p, estimated fees are £1.38. If outbound postage is £3.50 and you pay it, the amount remaining before labour, overhead, tax and profit is £11.32. That is not net profit. Add the time needed to pick, pack and support the order before deciding whether the price works.
Use actual quotes for your carrier, platform and payment provider. The example is a calculation template, not a universal recommended price. Charge for delivery separately or build it into the price only after modelling both choices. “Free delivery” is not free to the business. If you include delivery, account for remote postcodes, packing weight, damage and any threshold discount. Check contribution per order and average basket, not just gross margin percentage.
| Cost item | Example | How to use it |
|---|---|---|
| Kit contents | £8.10 | Wax, wick, vessels, tools and any included fragrance |
| Retail and shipping packaging | £1.10 | Box, protective inserts and seals |
| Printed guide and labels | £0.45 | Instructions and product identification |
| Allocated inbound freight | £0.55 | Supplier delivery divided across kits |
| Quality and wastage allowance | £0.60 | Sample checks and unusable components |
| Direct product cost | £10.80 | Subtotal before selling and delivery costs |
| Estimated fees | £1.38 | Illustration: 4% plus 30p on a £27 order |
| Outbound delivery | £3.50 | Use a live quote for your parcel and route |
| Remaining before labour, overhead, tax and profit | £11.32 | Not net profit; deduct remaining business costs |
Illustrative figures only. Replace each amount with your supplier, carrier and platform costs.
A focused range gives customers meaningful choice without multiplying your workload. Start with one core beginner kit and perhaps a refill or gift-ready version. Make the difference clear. A gift upgrade might change packaging and include a message card; it should not introduce an untested formulation. A refill should provide exactly the compatible consumables the previous buyer expects. If you add a second project, test it as a separate product with its own instructions and risk review.
Use names that explain rather than decorate. “Two-candle starter kit” tells the buyer more than “Moonlight Ritual”. You can use a collection name as a secondary label, but keep the product type and outcome visible in the title. Show the size and count early. If there are variants, explain what changes between them and let the buyer see the final total price before adding to basket.
Avoid excessive customisation at launch. Too many scents, wax types, vessel colours and tool options create more inventory combinations, listing text and chances for picking errors. Consider a choice only when customer research or sales data show that it helps a defined group buy. Keep one reliable base product available while experimenting with a limited, clearly labelled test batch.
The brand should make the kit recognisable and help the buyer know what to expect. Choose a name that is easy to say, spell and search. Check whether another business already uses it in the same product area, and review domain and social handle availability before paying for packaging. Avoid names that imply medical, therapeutic or environmental outcomes you cannot substantiate. A calm, craft-led brand can be distinctive through colour, illustration, tone and a consistent unboxing experience.
Write a short brand promise supported by what you actually do. For example, a promise of “thoughtful first projects” can be backed by measured portions, illustrated steps and an email help route. A promise of “low-waste crafting” needs evidence about sourcing, materials, packaging and disposal; it cannot rest on a kraft-coloured box alone. Be precise about claims such as natural, non-toxic, sustainable or allergy-friendly, and get advice if the claim could affect how a customer assesses safety.
Use the same product naming, colour cues and instruction style on the box, product page, insert and customer emails. This reduces uncertainty and makes the product easier to recommend. Do not overcrowd the packaging with a full story, a long warning panel and a marketing pitch. Prioritise required safety information, contents, contact details and a concise first-use path. Put optional brand storytelling in the welcome card or online guide.
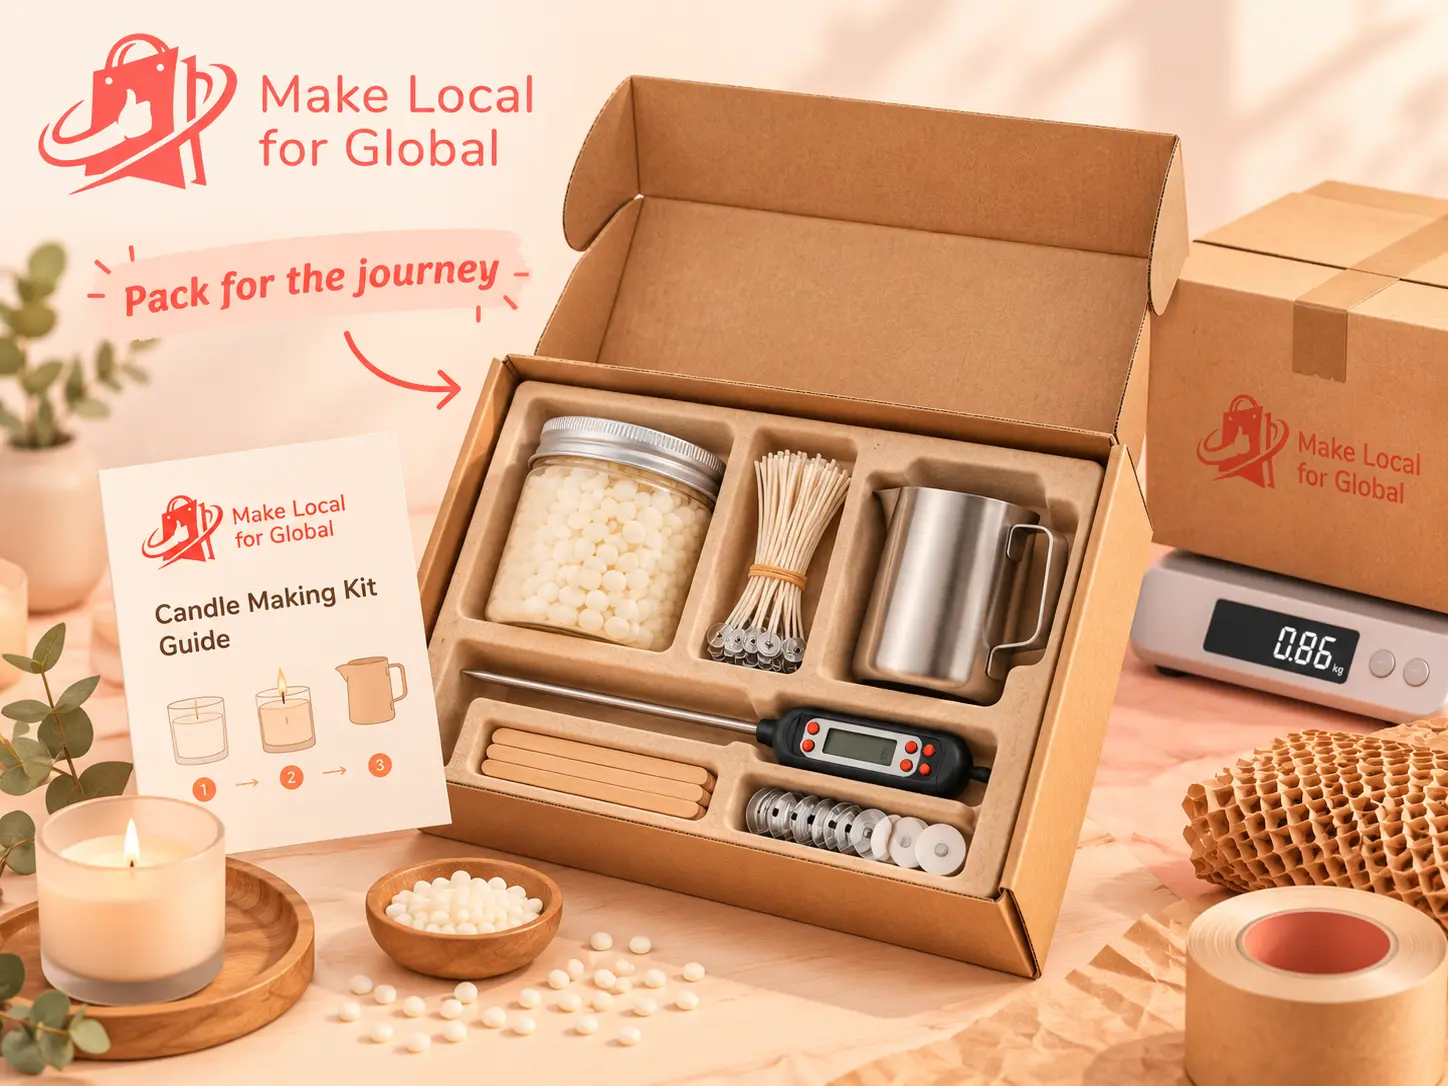
Good images reduce uncertainty, especially when a buyer cannot inspect the kit in person. Start with a clean hero photograph of the actual packed kit on a simple background. Then show the full contents laid out, the approximate finished candle size beside a familiar object, and the numbered steps or instruction sheet. Add a close-up of key tools and a photo of the safely packed parcel. If you include lifestyle images, ensure they do not imply props, furniture, finished candles or extra materials are included.
Use natural, even light and avoid heavy filters that change wax colour or make quantities hard to judge. Keep glass clear, labels readable and shadows gentle. Include a scale reference and note measurements in the written listing as well. A short demonstration video can show how the kit is opened and how the wick tool works, but it should not replace written safety instructions or the user guide.
Set descriptive alt text that tells a screen reader user what the image communicates, not a pile of repeated keywords. For example, “Candle-making kit contents arranged in a box with wax, wicks, two vessels, a metal pitcher and thermometer” is useful. The featured thumbnail should remain readable as a small card image, with a clear title, a product-specific kit scene and a few brief practical cues.
The first screen should tell a buyer what the kit makes, who it suits, how many candles it produces, what is included and the price. Place a short, plain-language summary before detailed sections. Follow with an exact contents list, required household tools, approximate project time, dimensions or capacity, storage information, delivery timing and returns. State any age or supervision guidance supported by your product risk assessment.
Describe the experience in the words a beginner needs. Explain whether the wax is pre-measured, whether fragrance is included, what vessel size is used and what stage requires waiting. Clarify whether a thermometer or heat source is provided. Avoid vague phrases such as “everything you need” if the customer still needs a saucepan or protective surface. If a finished result can vary, set expectations with an honest range and a clear note about technique.
Use a question-based FAQ for real objections: “Do I need candle-making experience?”, “Is the pouring jug included?”, “How long before I can use the candle?”, and “Can I send this as a gift?” Answer accurately for the exact kit. Include a direct support link. A well-organised product page can prevent a sale that would otherwise become an avoidable refund because the buyer expected a different tool or project size.
Start with the language customers use. Search phrases may include “candle-making kit for beginners”, “candle-making kit gift”, “soy candle kit” or “candle kit UK”, but verify demand and competition with your own keyword research before relying on one phrase. Search intent can differ: a person looking for a kit to buy needs product details, while someone looking for a recipe needs instructions. This guide targets a seller who wants to build and sell kits, so its title, introduction and headings focus on product design and ecommerce decisions.
Use one primary keyphrase naturally in the SEO title, page title, introduction, one or two headings and meta description where it fits. Add related language only when it helps the reader. A sensible slug is sell-candle-making-kits-online. Write a unique excerpt and meta description that tell searchers what the guide covers. Avoid duplicating a competing page word-for-word; this guide should add a distinct angle about kit contents, safety documentation, testing and fulfilment.
Use internal links where they answer a reader’s next question. The existing guide to selling candles online covers finished candles, while selling candle holders is useful for product-specific vessel decisions. A reader exploring adjacent stock may find the candle jars guide and aromatherapy oils article helpful. Link with descriptive wording in context, and check each URL before publication.
Search visibility is not just a phrase count. Use a clear heading hierarchy, useful original images, descriptive alt text, fast-loading media, mobile-readable content and a page that satisfies the searcher’s actual question. Keep product structured data accurate if your ecommerce platform generates it. Do not insert review ratings, availability or prices into schema unless they are real and current. Monitor impressions and queries after launch and update the page when search data and customer questions show a genuine content gap.
Marketplaces can help you test whether a product gets attention, while a dedicated website gives you greater control of the brand, customer journey and repeat sales. A marketplace may have listing rules, transaction fees and constraints on how you contact customers. An independent shop requires you to earn traffic and build trust, but makes it easier to explain your range, publish guides and offer compatible refills. You can use both if the total work and fees are understood.
Keep the first store simple. Organise products by kit type, recipient or skill level rather than by every possible scent. Add a clear About page, contact details, delivery policy, returns information, privacy information and product safety details. Make the basket and checkout work on mobile, show delivery charges before payment, and make the payment button’s obligation to pay unmistakable. The official GOV.UK distance-selling guidance is a starting point for pre-sale information and confirmations.
Use a test order to review the whole flow: choose a variant, add to basket, see the shipping rate, pay using a test mode if supported, receive confirmation and check the order notification. Verify that tax and delivery settings match your situation. Do not assume a theme’s demo checkout is configured for your policies. If you sell cross-border, check tax, consumer, product-safety and chemical rules for each destination before enabling delivery.
If the product is ready but the store setup is slowing you down, discuss a practical ecommerce starting point with the MLFG team.
Candle kits can include fragile vessels, wax flakes, small metal tools, liquids and printed material. Design the internal layout so contents stay organised and the buyer can see what to do first. Use dividers or sleeves that prevent glass from striking metal tools. Secure bottles upright and follow supplier storage guidance. Keep the instruction sheet dry and easy to find. If a small part could be lost in loose fill, give it a dedicated bag or compartment.
Measure and weigh the complete parcel rather than using the weight of the contents. Check carrier size bands and any restrictions for the exact ingredients or liquid components. Test the chosen box with a handling trial appropriate to your product and seek packaging advice for fragile items. Be truthful about dispatch cut-offs, processing time and delivery estimates. If seasonal orders could exceed your capacity, cap availability or state the last order date early.
Choose packaging that protects the product while using no more material than necessary. Explain disposal or recycling only where you have checked material and local limitations. Small UK producers may still need to assess Extended Producer Responsibility obligations depending on turnover and packaging volumes. The GOV.UK small-producer EPR guide describes thresholds and reporting duties; check current guidance against your own figures rather than assuming that a small shop is automatically exempt.
Show the customer what they will create and why the project is satisfying. Short content can demonstrate the contents, first step, wick-centering tool, finished candle and gift-ready box. Make it clear when footage is illustrative and do not show a shortcut that contradicts written instructions. Ask a real customer for permission before sharing their work or review. Do not fabricate testimonials, ratings, scarcity or sales figures.
Build a simple content calendar around buying questions. Topics might include choosing a first scent, which tools are supplied, how to set up a workspace, a behind-the-scenes batch check and a gift guide. Link each helpful post to the matching product page without turning every post into a sales pitch. Search content can support the product page when the topic is genuinely related; it should not be a thin rewrite of the same keyword.
Use email with consent and a clear unsubscribe route. A post-purchase email can check that the kit arrived intact, link to instructions and invite a question. A later message can ask for feedback after the customer has had enough time to complete the project. Segment gift buyers from makers where possible, and do not send repetitive promotions to every buyer. Measure whether content brings qualified visits and orders rather than counting likes alone.
Make it easy to ask a question before and after purchase. Give customers a route for missing items, damaged parcels, unclear instructions or a possible safety issue. Record the batch or order reference and respond calmly. If a report suggests a hazard, pause and investigate before treating it as a normal complaint. Keep a record of the issue, any affected batch, the actions you took and whether you need supplier or regulator advice.
Online buyers in the UK generally have cancellation rights for distance purchases, subject to rules and exceptions that apply. Explain cancellation, returns, delivery and refund information before checkout. Do not assume a kit is exempt because it contains craft materials; check legal conditions for the actual item and whether any sealed-goods exception applies. The GOV.UK returns and refunds guidance is a practical overview. Faulty or misdescribed goods also carry statutory rights, so a store policy should not suggest otherwise.
Build customer support into your costs. A short video or clearer printed step may prevent repeat questions, but the support route should still be accessible. When a mistake is yours, put it right and use it to improve stock control, packaging or instructions. When feedback reflects a misunderstanding, clarify the page and insert rather than blaming the customer. Good support can turn an uncertain first-time buyer into a repeat customer, but it should not depend on you being available at every hour.
A kit that works for one online order may not be ready for a wholesale account or a room of twenty learners. Wholesale buyers may require case quantities, barcodes, consistent restocking, trade pricing and a delivery window. Calculate the trade margin before offering a discount. Check whether the lower price still pays for components, preparation, freight, damage allowance and support. If it does not, create a simplified trade pack rather than discounting the retail kit below a sustainable level.
Workshop sales can create a direct way to observe how people use the product. Prepare a session plan, attendee count, material allocation, safety briefing, storage method and cleanup plan. Check venue requirements and insurance with the organiser. If the buyer is a school or community group, ask what information they need about age, supervision, ingredients and equipment. Do not assume the ordinary retail instruction sheet is sufficient for a group setting.
Treat wholesale, workshops and corporate gifting as separate offers with separate costing and fulfilment assumptions. Ask potential partners about repeat volume, lead time, customisation, payment terms and who handles customer questions. A conversation is not a forecast. Use a small paid pilot or clear written order before buying a large amount of bespoke packaging.
Start with a small weekly dashboard.
Track product-page visits, add-to-basket rate, conversion rate, average order value, contribution per order, shipping damage, returns, missing-item reports and customer questions. Add campaign data so you can see what brings qualified visits. If the page has visits but few baskets, review clarity, price, contents and trust signals. If baskets convert but contribution is low, examine shipping, discounting, fees and packing time.
Ask customers what almost stopped them buying. You may discover the project duration is unclear, they do not know whether a jug is included, or they worry about fragrance strength. Fix the highest-frequency barrier first. Change one meaningful thing at a time and compare similar periods; changing the photo, title, price and checkout together makes it difficult to learn what mattered.
Review stock and supplier lead times before promotions. A sudden increase in orders is useful only if you can fulfil them to the promised standard. Set a reorder point for long-lead components and maintain a small buffer based on actual use and supplier reliability. Do not buy more stock because a social post got high reach if it has not produced the demand or margin you need.
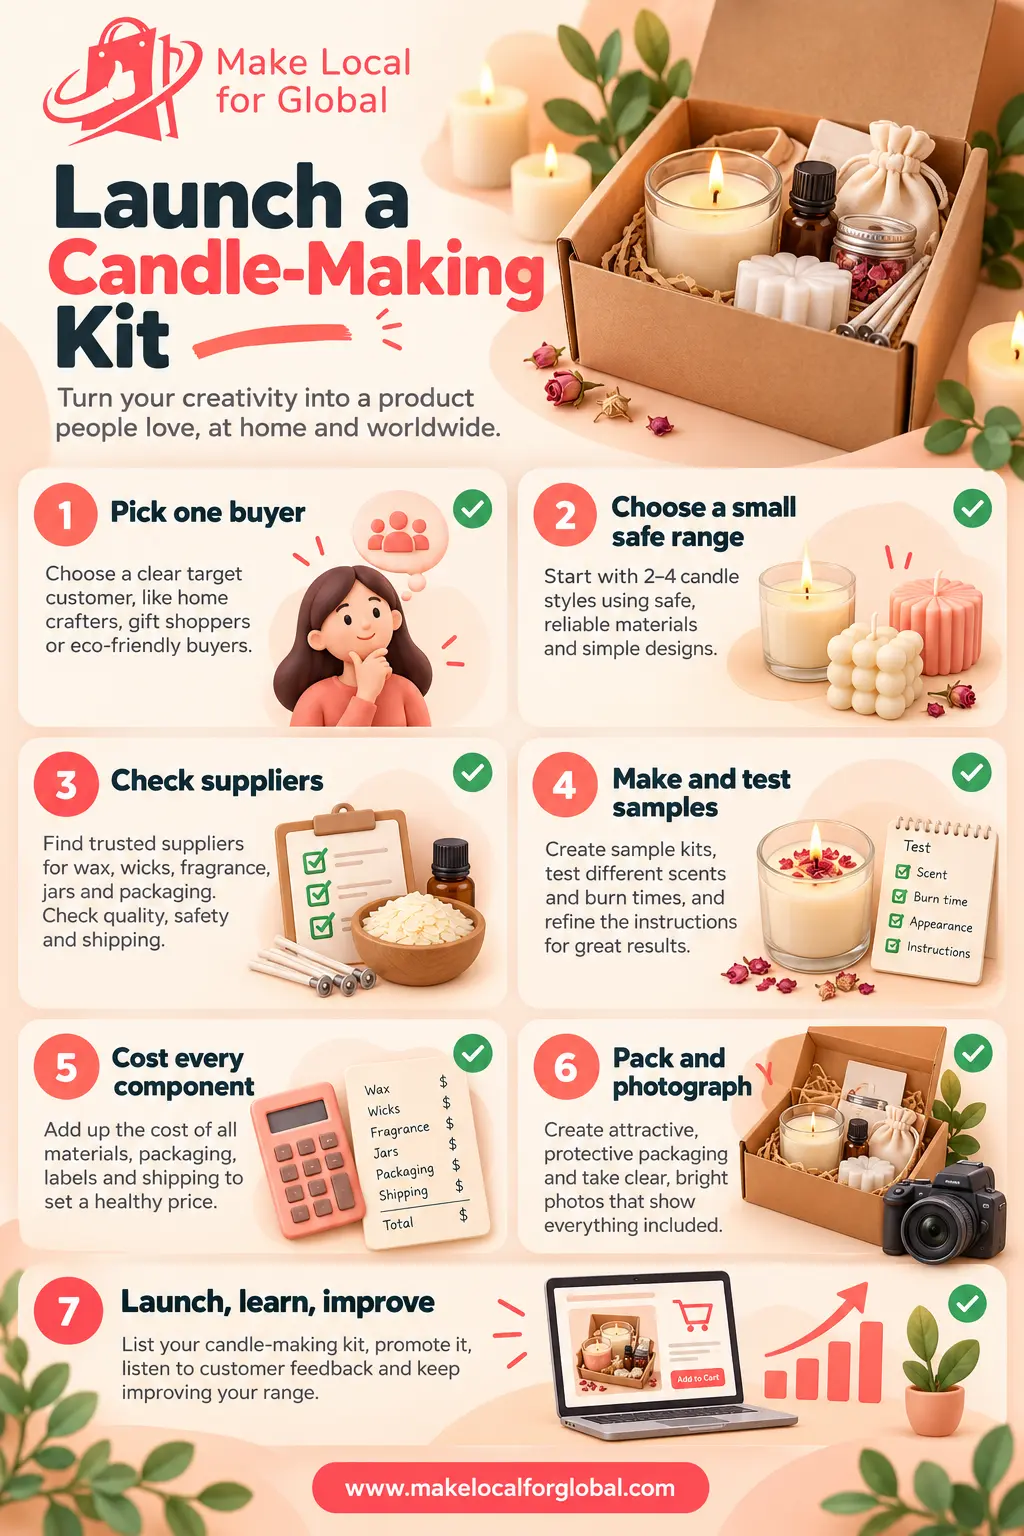
Choose one primary buyer, one project and one kit format. Interview several prospective buyers or ask for structured feedback from people who match the audience. Review competing listings for what they include, how they explain the project and where questions remain unanswered. Write your product promise and a short list of assumptions to test, such as willingness to pay, preferred project time or whether fragrance should be included. Do not buy large volumes until the biggest assumptions have evidence.
Request written specifications, current supplier safety information, batch identification and lead times. Order small quantities of the components required for a representative kit. Create your bill of materials and a supplier register. Review applicable product safety and chemical requirements for the territories you intend to serve. If any classification or safety question is uncertain, get competent advice before describing the kit as ready to sell.
Assemble a small test batch. Give the instructions to a genuine beginner and watch for hesitation, workarounds and missing information. Check the finished materials, packing order and the customer’s first-use questions. Revise instructions and contents, then repeat the test. Photograph the actual kit and record the batch, changes and checks. Agree on a pause-and-investigate process for safety complaints or supplier alerts.
Calculate full cost per order, including labour, fees, postage and an allowance for failed or damaged stock. Compare the price with buyer research and test whether the margin supports the service you promise. Write product copy that states what is included, what is not, the project outcome, age or supervision guidance, dispatch timing, delivery costs and returns terms. Add clear photographs, dimensions and an instruction preview. Set up a support and order-confirmation route.
Pack a complete kit and check that each part arrives in the same condition as it left. Verify parcel dimensions and carrier rules. Place a test order on mobile and desktop, review payment, confirmation email, delivery charge and stock updates. Check that product images, alt text and policy links are present. Ask someone unfamiliar with the business to locate key information without coaching.
Begin with a quantity you can fulfil reliably. Announce the kit to a relevant audience and publish helpful content that demonstrates the project. Invite questions, monitor each order and track the dashboard weekly. Review early feedback and damaged-parcel rates before adding variants. If the basics are working, improve the product page or launch one refill; if not, fix the biggest friction before spending more on reach.
It can be, when the kit solves a clear buyer problem and the seller accounts for safe use, instruction quality, component sourcing and delivery. The category is crowded, so a defined beginner, gift or workshop use case matters more than adding many decorative extras. Test the whole kit and calculate your contribution before scaling.
The exact contents depend on the project, but a clear kit may include measured wax, compatible wicks, suitable vessels, the tools needed for the chosen method and step-by-step instructions. Tell buyers what they must provide themselves. Test each combination as a full product and check safety information for its specific materials.
No. Fragrance can be an optional part of the offer, but it adds formulation, classification, storage and communication questions. A fragrance-free starter kit can simplify the first version. If you include fragrance, obtain current supplier documentation, assess the actual mixture and concentration for the target market, and provide any applicable label or safety information.
Start with all costs: components, inbound freight, packaging, instructions, testing, payment or marketplace fees, outbound delivery, labour, support, returns and overhead. Use a worked model to see what remains after each order. The right price depends on real costs, customer value and channel. Do not copy a competitor’s price without knowing what it must cover.
Only after carefully assessing the actual materials, heat source, tools, instructions, foreseeable use, age range and supervision. A colourful box is not evidence of child suitability. If you intend to sell to children or schools, seek product-safety advice for the design and target market before making age claims.
Provide clear instructions and warnings relevant to the exact kit, components and foreseeable use. Keep supplier information, batch records and customer contact details accessible. For fragrances and colourants, determine whether classification and labelling requirements apply in each market. Do not copy a generic warning label from another candle or supplier without confirming it matches your product.
Many online consumer purchases are covered by cancellation rights, while specific exceptions and rules depend on the goods and circumstances. State accurate cancellation, return and refund information before checkout, and remember that statutory rights for faulty or misdescribed goods still apply. Check current UK guidance for your exact terms and territory.
Separate glass from metal tools, secure small parts, protect vessel edges and prevent movement inside the box. Weigh and measure the finished parcel, use an appropriate carrier service, and test packages through the route you plan to use. Track damage and improve packaging when a pattern appears.
One core kit and one carefully tested refill or gift option may be enough to learn. More variants increase stock, instructions, photography and quality checks. Add an option when buyer feedback or order data reveals a specific unmet need, then cost and test it as its own product.
Start with a specific audience and demonstrate the project with accurate photos, helpful video or a local workshop. Ask early buyers for honest feedback and permission before featuring comments. Share useful answers to common questions, make checkout and delivery information clear, and build an email list with consent rather than relying on repeated promotional posts.
A good candle-making kit is a small, well-tested product system: useful contents, clear instructions, safe handling, honest pricing and a parcel that arrives ready to use. Start with one buyer and one project. Test the whole experience, document what you learn and make the next version more straightforward. Expand after the core offer earns customer confidence and leaves enough margin to keep improving it.
If you want help turning a focused product idea into a working online shop, explore MLFG website design or contact the team.
Get help shaping the first version of your ecommerce store around a clear product range and a useful customer journey.
PREFERRED SOURCE
Like what you’re reading? Add Make Local for Global as a preferred source on Google to see more of our articles when you search.

Build your online presence without having to figure out everything yourself.